Lab 7
The purpose of this experiment is to perform Hand-eye Calibration for the camera and arm. In order to use the camera to measure the position of objects and to use that information as feedback for the control of the arm, it is necessary to know the pose of the camera in the World coordinate system. That pose is determined by 7 parameters which must be measured. As with many complicated measurements, it is unreasonable to believe that a single measurement is accurate enough. The standard approach is to repeat the measurements a reasonable number of times; determine a least-squares fit for the parameters; then check the fit by means of a separate set of measurements. If the result of the test is not good enough, make more (ideally more accurate) measurements.
Once you have calibrated the camera, it is interesting to check the accuracy of the largest square you found for the end effector in the next lab. You only specified the corners. MoveIt determined the path and the trajectory. If you repeat them and observe the result with the camera, you can compare the path and trajectory as measured by the camera with that computed from the joint angles.
The first thing you have to do is make the first set of measurements for the calibration and record them. Be sure to collect measurements from a broad range of positions, including some extreme ones.
Writing the code
Verifying the calibration result involves these steps:
Finding the mean error vector
Finding the covariance matrix
Finding the sum of squared errors vector
Implement these functions in the lab7/src/lab7.cpp source file located within the workspace
source directory. Refer this page at any point for tips.
findMeanErrorVector()findCovarianceMatrix()findSumOfSquaredErrorsVector()
Run this command in VSCode terminal to build the packages and source the workspace after modifying the source code.
cd $ROS_WS && colcon build && source install/setup.bash
Performing the calibration
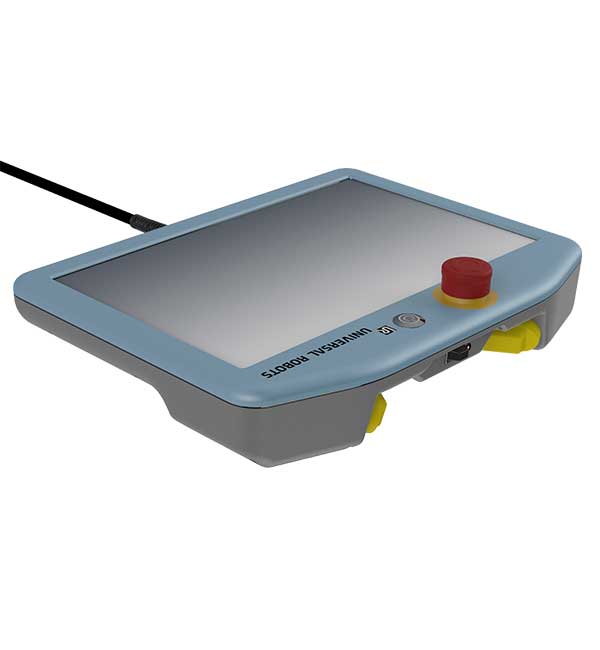
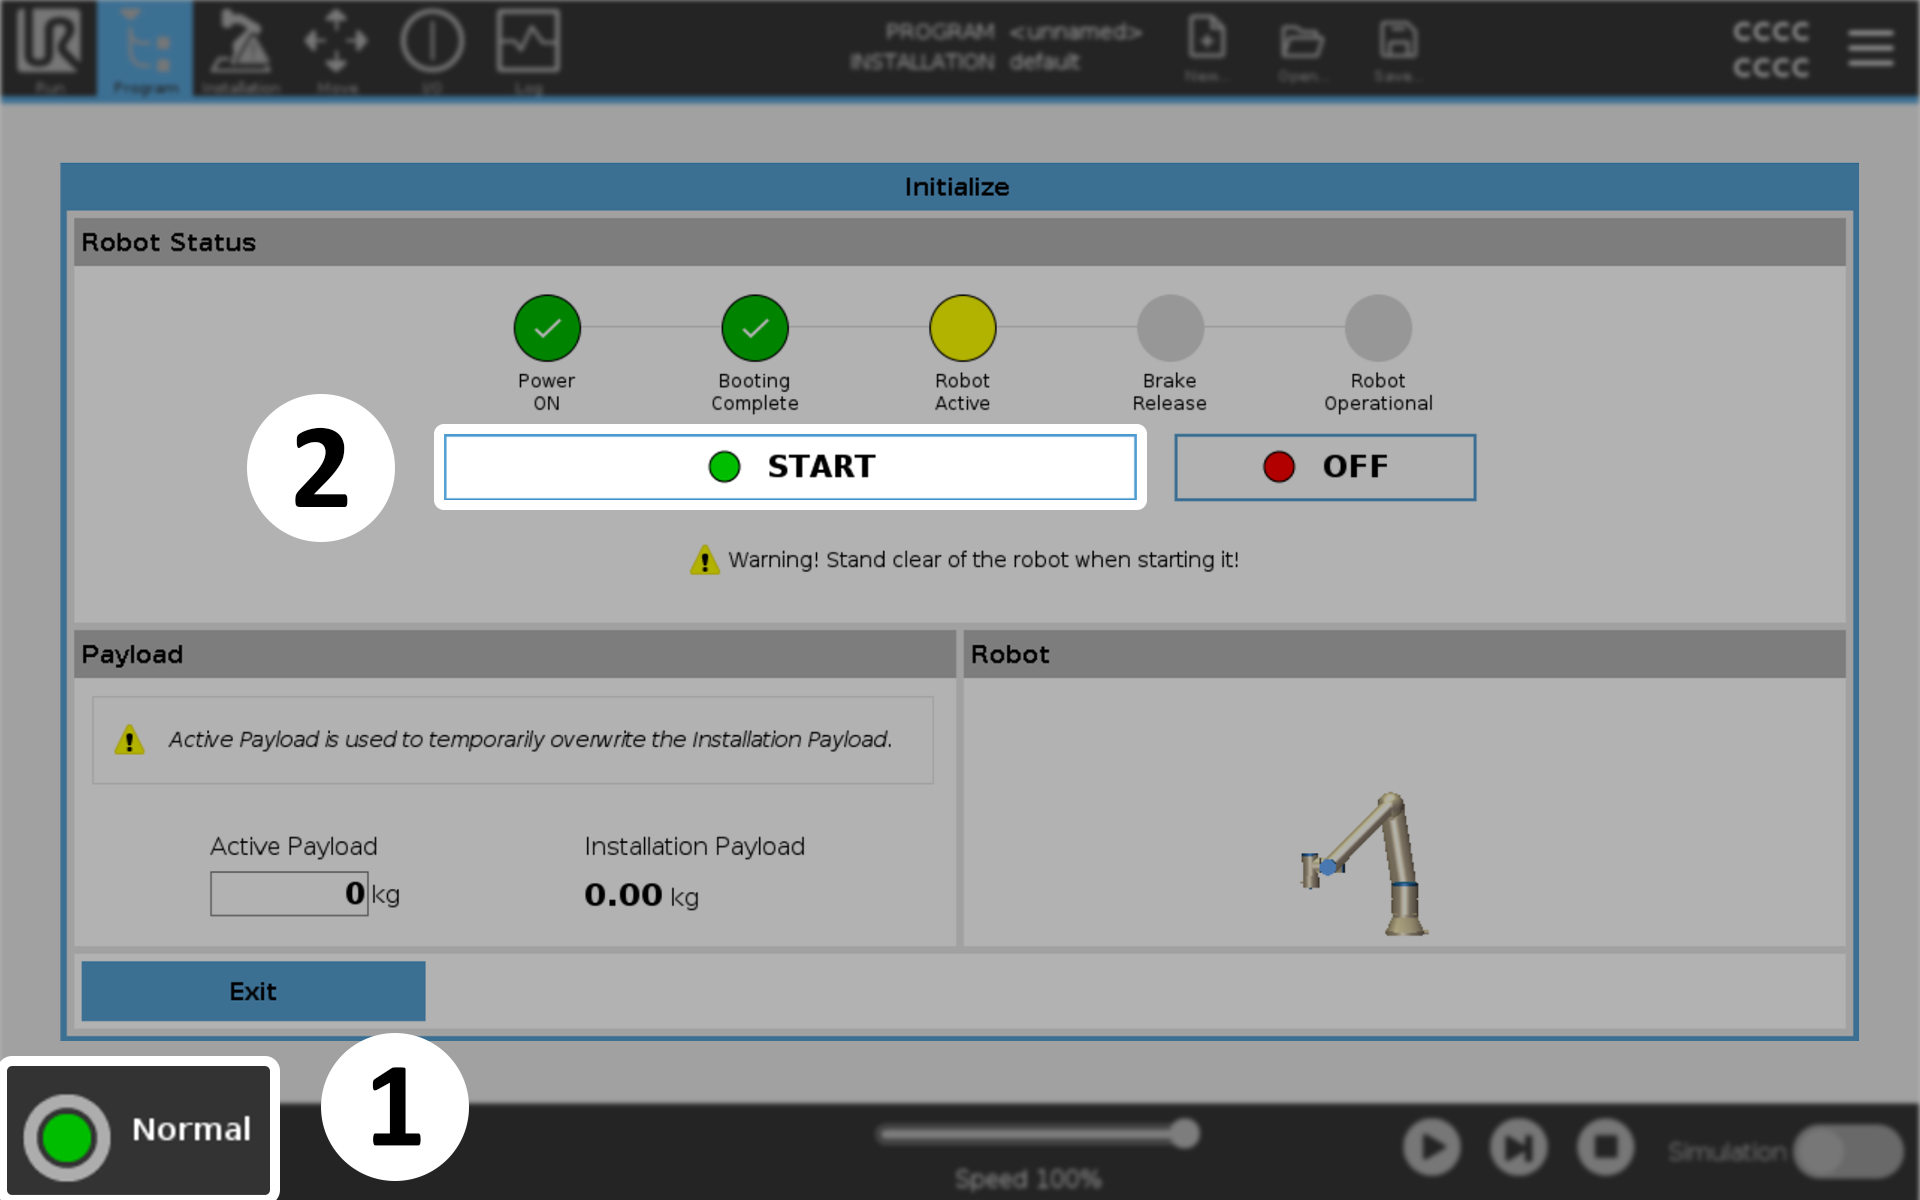
Start the robot by turning on the Teach Pendant. Open the Initialization
window by pressing the button at the bottom-left corner of the screen. In the Initialization window,
press ON and then START to release the brakes.
Initializing the arm
On the lab computer, use the VSCode terminal to execute the launch file for this Lab exericise to
run the calibration stack. Replace <number> with the number posted on your lab table when
entering the command.
ros2 launch lab7 lab7.launch.py table:=<number>
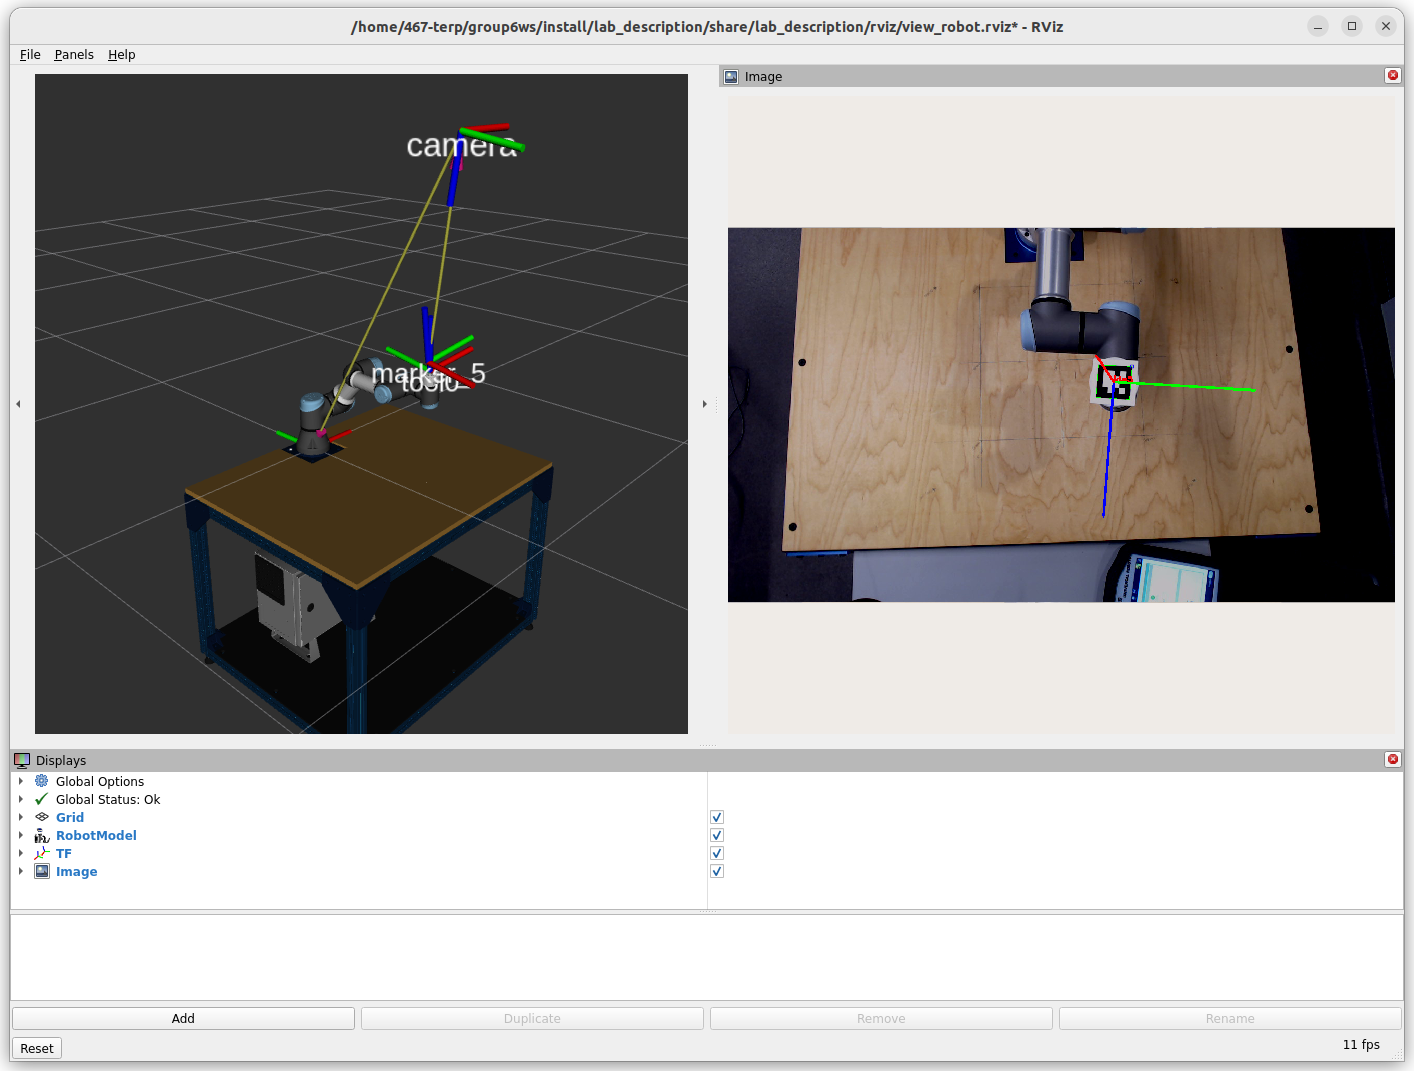
This will start an RViz window displaying the robot and camera views side by side. The left view replicates the real arm’s pose, showing the relevant transform frames. The right view displays the camera feed, highlighting the marker when detected.

RViz window after executing the launch file
Start a terminal window outside VSCode by pressing CTRL + ALT + T keys, and access the container
shell. This page explains more about this step in detail.
docker exec -it -u 467-terp <workspace-name> bash
Now begin the command interface in this terminal window to send commands to the calibration node.
ros2 run lab7 command_interface

Command interface running in an external shell window
Press and hold the Freedrive button on the Teach Pendant with your index finger to freely move and adjust the robot by hand. Location of this button is shown in the figure below.
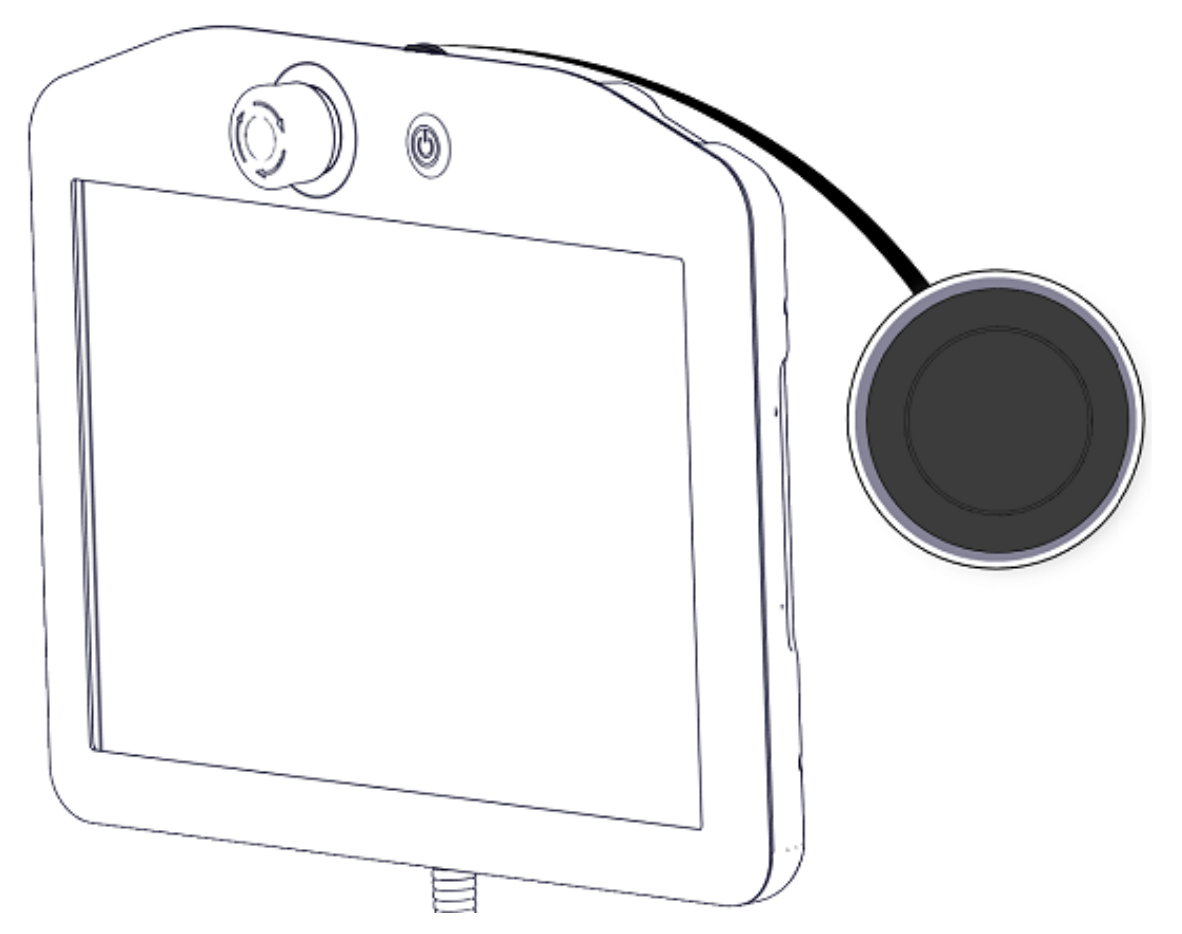
Freedrive button on the Teach Pendant
Move the robot by hand to bring the marker attached to the robot into the camera view.
Set the robot to a specific pose, then press ENTER in the terminal to capture a measurement.
Adjust the robot to a new pose and capture another measurement. Repeat this process 15 times, ensuring the marker remains visible to the camera.
Run the calibrate command to initiate calibration.
In RViz, two new frames named camera and marker_id should appear in the left viewport,
representing the camera’s and marker’s poses, as shown in the figure below.
RViz window after Hand-eye calibration
Note
If the camera and marker frames are positioned incorrectly, reset the measurements and perform the calibration again. There must be a significant variation between the end-effector poses while capturing measurements.
If the results look correct, save the calibration results using the save command before
proceeding to verify the calibration.
Capture at least 15 additional measurements in the same way as for calibration, then use the
verify command to calculate the error vectors and covariance matrix using the previously
implemented methods.
Save the verification results using the save command again. The output will be stored in the
output/lab7/ directory within the ROS workspace.